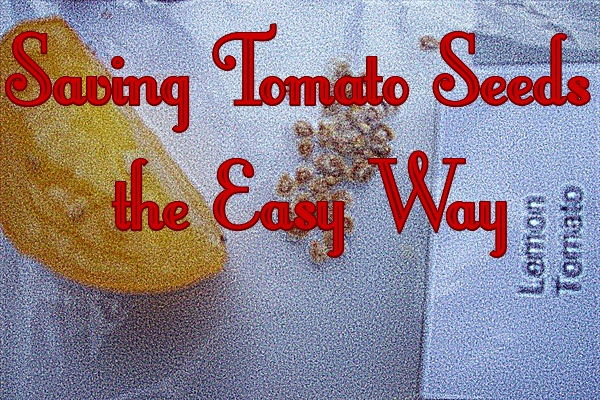
Most instructions for saving tomato seeds involve a process requiring not only several steps but a couple of days. Not being good at following such directions, I took a simpler, more direct approach. And, it worked!
I've since been reassured by those far more experienced than I that my method is not uncommon. The tradeoff may be lower seed viability with the quicker approach, the seeds I save grow next year's crop every year and that's all we're looking for. Mother Nature is generous with seeds to hedge against adversity. And, short-cutters like me. So, if saving tomato seeds has seemed labor-intensive to you, try this - you may like it.
Step 1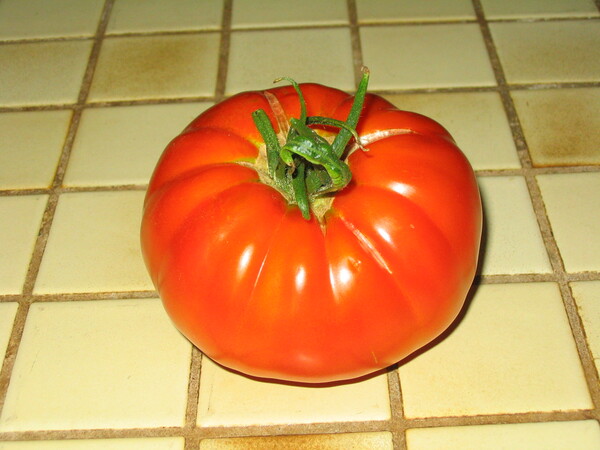
Since I usually save seeds while I'm cooking up a pot of sauce on the stove, I choose the best looking (and you can check for best tasting if you like) tomatoes and set them aside for their seeds.
You'll need:
- waxed paper (Don't use paper towels; the seeds will stick to them.)
- slicing knife
- permanent marker
- small strainer
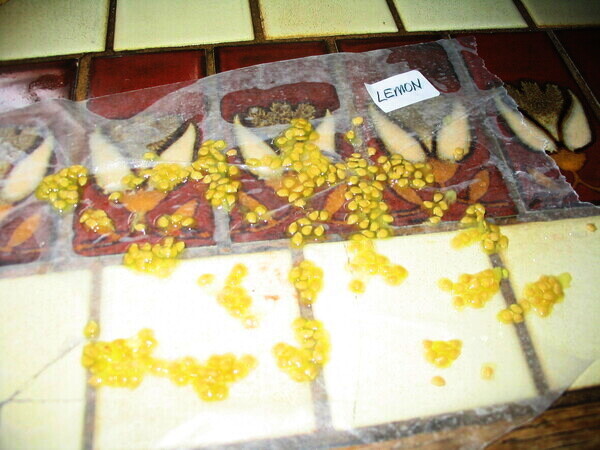
Tear off a section of waxed paper. About 12" x 12" is plenty. With the permanent marker, write the tomato variety on the waxed paper.
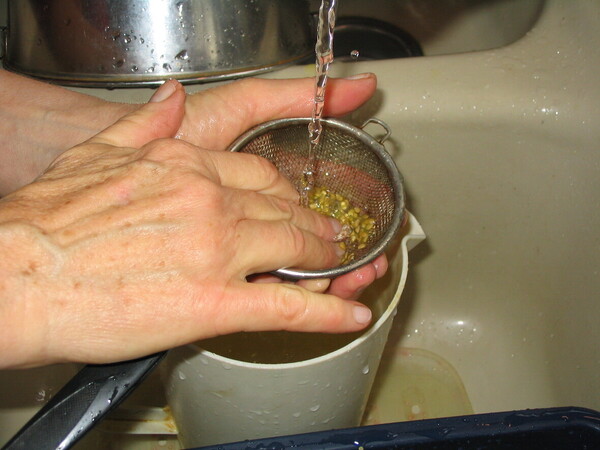
Place a bowl, pitcher, cup - anything to catch errant seeds - in the sink. Cut open a your tomato, place some of the seeds in the strainer and rinse under running water over the bowl, using your forefinger or thumb to help some of the gelatinous sac through the strainer. Rinse as well as possible so the seeds will dry less sticky.
Step 2
Drain and lay out the rinsed seeds on your labeled waxed paper, spreading them apart for better drying. The seeds in the following pictures are from a lemon tomato - a tomato like any other, except that its bright yellow color gets my taste buds ready for lemon but the taste is pure tomato.
Step 3
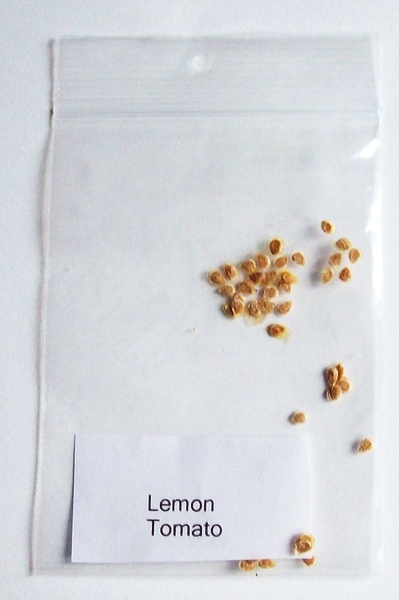
You're done until the seeds dry. You can transfer the waxed paper onto a cookie sheet for easier moving-out-of-the-way. They'll dry naturally in a day or two, depending on your climate and your kitchen. When they are dry to the touch, peel them off the waxed paper and store them in a labeled seal-able bag for spring. (It's a good idea to add the year to your label.) You'll notice several of the seeds will retain dried gel around the edges. This is fine. Just peel off whatever you easily can when removing them from the waxed paper.
 Happy seed saving!

